The moisturizer is a key player in your skincare routine, providing much-needed hydration and forming a protective barrier against external elements. The good news is that you can create your own face moisturizer with ingredients that target your specific skin concern. Even better, a DIY moisturizer will be sans preservatives, synthetic fragrances, parabens, and alcohol, which are known to be irritating and drying for the skin. However, bear in mind that since it lacks preservatives, a DIY moisturizer won’t last as long as a store-bought one, so you have to make small batches. Also, even if you’re doing your moisturizer yourself, you should still do a patch test before slathering it all over your face.
Homemade moisturizer for dry skin
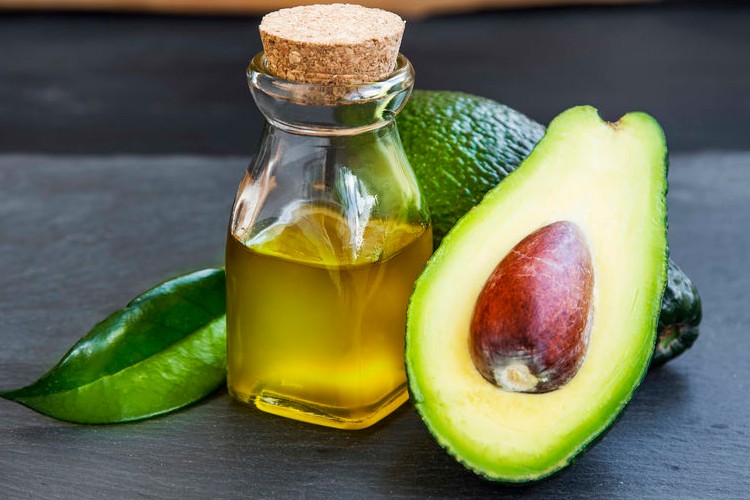
If you’ve got dry skin, you’re going to love this combo: avocado, shea butter, and vitamin E in a rich moisturizer. Here’s why: Avocado is filled with antioxidants, fatty acids, minerals, and vitamins, all of which moisturize and strengthen your skin. The addition of shea butter and vitamin E (both emollients) softens dry patches and restores the moisture barrier.
Ingredients
- 200g of shea butter
- 25g of avocado oil
- Two or three capsules of vitamin E
How to DIY
Put the shea butter in a container that you can then close tightly, preferably opaque, as this is where you’ll house the cream. Next, add the avocado oil and stir well. Open the vitamin E capsules to extract the oil and add it to the mixture. Stir well until the cream looks homogeneous.
Apply the moisturizer on moist skin, right after cleansing and toning and before your targeted serum. You can use this DIY moisturizer twice daily, in your morning and evening routine. Remember to store it in a cool, dark place to preserve the ingredients and protect them from degradation.
As an alternative to this DIY moisturizer, you can switch shea butter and avocado oil with coconut oil. Coconut oil has plenty of benefits for the skin, including high fatty acid content—ideal for dry skin.
Homemade moisturizer for normal skin
Ingredients
- The gel of one aloe vera leaf
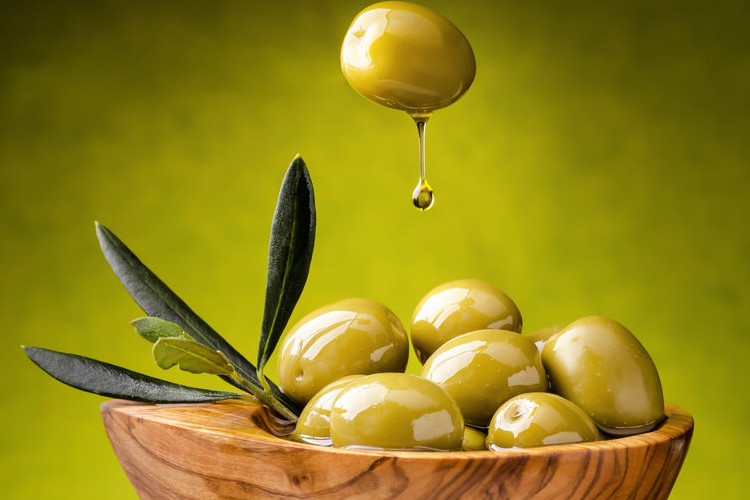
- Five tbs of olive oil
- One tbs of sweet almond oil
- Two tbs of avocado oil
How to DIY
Begin by sterilizing a large jar to ensure it’s clean and free of bacteria. Slice open the aloe vera leaf and take out the gel. Place the aloe vera gel into the jar first. Then, gradually add the olive oil, sweet almond oil, and avocado oil. Use a clean spoon to mix the ingredients. Once everything is mixed, check the consistency. It should be creamy and smooth, not too runny or too thick. If it’s too thick, you can add a little more olive oil. Store your homemade mask in a cool, dry place. If you’re using fresh aloe vera, it’s best to store the mask in the refrigerator and use it within a week.
Homemade moisturizer for sensitive skin
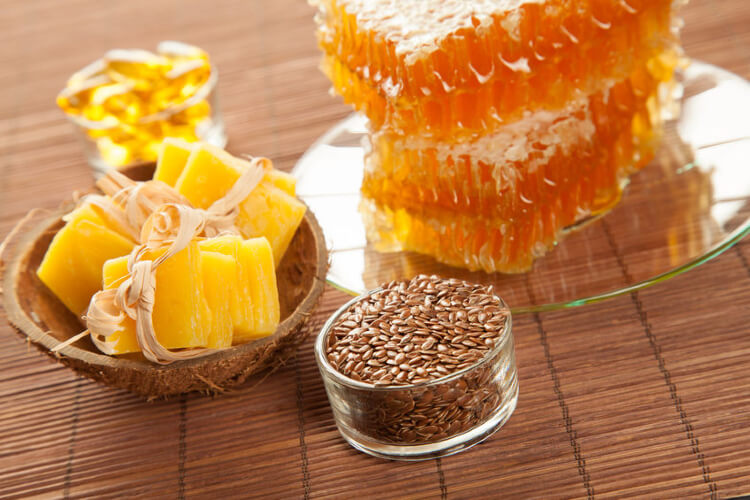
Sensitive skin is the result of a damaged protective barrier, so your moisturizer should reinforce this barrier and provide additional hydration. Avocado oil, coconut oil, and beeswax make a great team to ease sensitivities, and you can easily mix them into a homemade moisturizer that you can use to manage your sensitive skin. Avocado oil works to repair the skin barrier thanks to its content of fatty acids —research shows it. What goes so nicely with avocado oil are beeswax and coconut oil. Beeswax will deliver an extra dose of hydration and protect your skin against irritants, while coconut oil will be your antibacterial soldier.
Ingredients
- 5g of avocado oil
- 2 tbs coconut oil
- 2 tbs beeswax pellets
How to DIY
Start by pouring 2 to 3 inches of water into a pot and add all the ingredients. Put it on a stove, on medium heat, till all the ingredients melt. Pick up the jar and swirl it to make sure it’s all even. You need to wait till it cools down, for about an hour, before use. After the cooling period, check the consistency of your product. It should be smooth and uniform.
Homemade moisturizer for aging skin
#1
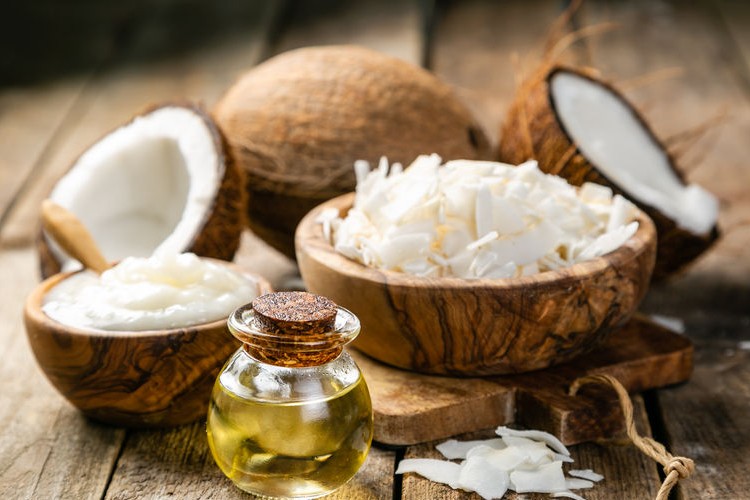
From nutrition, hydration, regeneration, and protection, coconut oil does it all thanks to the high content of fatty acids. To this anti-aging DIY moisturizer, you can add honey to give your skin extra TLC and nourishment, and optionally, but preferably, rosehip oil. Rosehip oil is full of vitamins and antioxidants that can help reduce the appearance of fine lines and wrinkles. Plus, it’s lightweight and non-greasy.
Ingredients
- 10 tbs of organic coconut oil
- 2 tbs of natural organic honey
- Rosehip oil (optional)
How to do it
If the coconut oil is solidified, you should heat it up for a few seconds in the microwave or a few minutes in a bain-marie. When it becomes liquid, pour it into a jar and add the honey and a small amount of rosehip oil. Stir well until it’s mixed. Apply this natural moisturizer to your face after cleansing.
#2
Here’s another moisturizer that does wonders for mature skin. The start ingredients are argan oil and rosehip oil. When the two are combined, they provide essential nutrients and vitamins to support healthy skin aging.
- 1/4 cup shea butter
- 1/4 cup coconut oil
- 1/4 cup argan oil
- 1/4 cup avocado oil
- 1/4 cup rosehip oil
Here’s how you do it: in a double boiler or a heat-proof bowl set over a pot of simmering water, melt the shea butter, coconut oil, argan oil, and avocado oil together until they are fully combined and liquid. Remove from heat and let the mixture cool slightly. Once cooled, add the rosehip oil and mix well. Pour the mixture into a clean, airtight container and let it solidify. Once solid, the moisturizer is ready to use. Apply a small amount to your face and neck morning and night after cleansing.
For oily and acne-prone skin
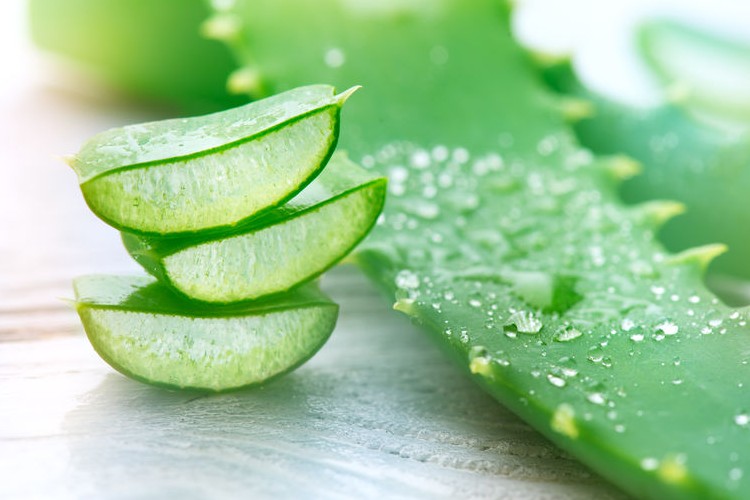
If you have oily and acne-prone skin, your priority is to use a moisturizer that’s lightweight and free of comedogenic ingredients. So steer clear of heavy and greasy oils because they can clog your pores and trigger new breakouts. Instead, your moisturizer should aim to hydrate your skin, purify congested pores, and eliminate bacteria. For this, aloe vera, witch hazel, and tea tree oil are the MVPs. Here’s how you can do a homemade moisturizer with these ingredients to soothe your acne-prone skin:
Ingredients
- 1/4 cup aloe vera gel
- 1/4 cup witch hazel
- 1 tablespoon of tea tree oil
- 1 tablespoon of lavender oil
- 1 tablespoon of rosehip oil
How to DIY
In a bowl, mix the aloe vera gel with witch hazel. Add the oils to the bowl and mix well. Transfer the mixture to a clean, airtight container. Apply a small amount to your face after cleansing—shake well before each use.
The bottom line
These DIY moisturizers are affordable and easy to do, and most of them are made with ingredients you already have in your kitchen. Even better, once you master the techniques of creating a homemade moisturizer, you will no longer have to hit the store to buy a product to hydrate your skin.


